KRIEGA | Official website - Online Store
Cart 0
BACKPACKS HYDRATION PACKS MESSENGER BAGS WAIST PACKS
WHICH BIKE PACK ? US-DRYPACKS ROLLPACKS OS-BASE RACKLESS OS-SOFT PANNIERS SPECIAL EDITIONS
ACCESSORIES SPARES
OUR STORY QUALITY COMMITMENT DESIGN INNOVATIONS 2025 RANGE GUIDE UK DEALER NETWORK KRIEGA WORLDWIDE STORIES
Cart 0
RIDER PACKS BACKPACKS HYDRATION PACKS MESSENGER BAGS WAIST PACKS BIKE PACKS WHICH BIKE PACK ? US-DRYPACKS ROLLPACKS OS-BASE RACKLESS OS-SOFT PANNIERS SPECIAL EDITIONS ACCESSORIES ACCESSORIES SPARES
KRIEGA | Official website - Online Store
EXPLORE OUR STORY QUALITY COMMITMENT DESIGN INNOVATIONS 2025 RANGE GUIDE UK DEALER NETWORK KRIEGA WORLDWIDE STORIES
STEP 1
STEP 1

STEP 1

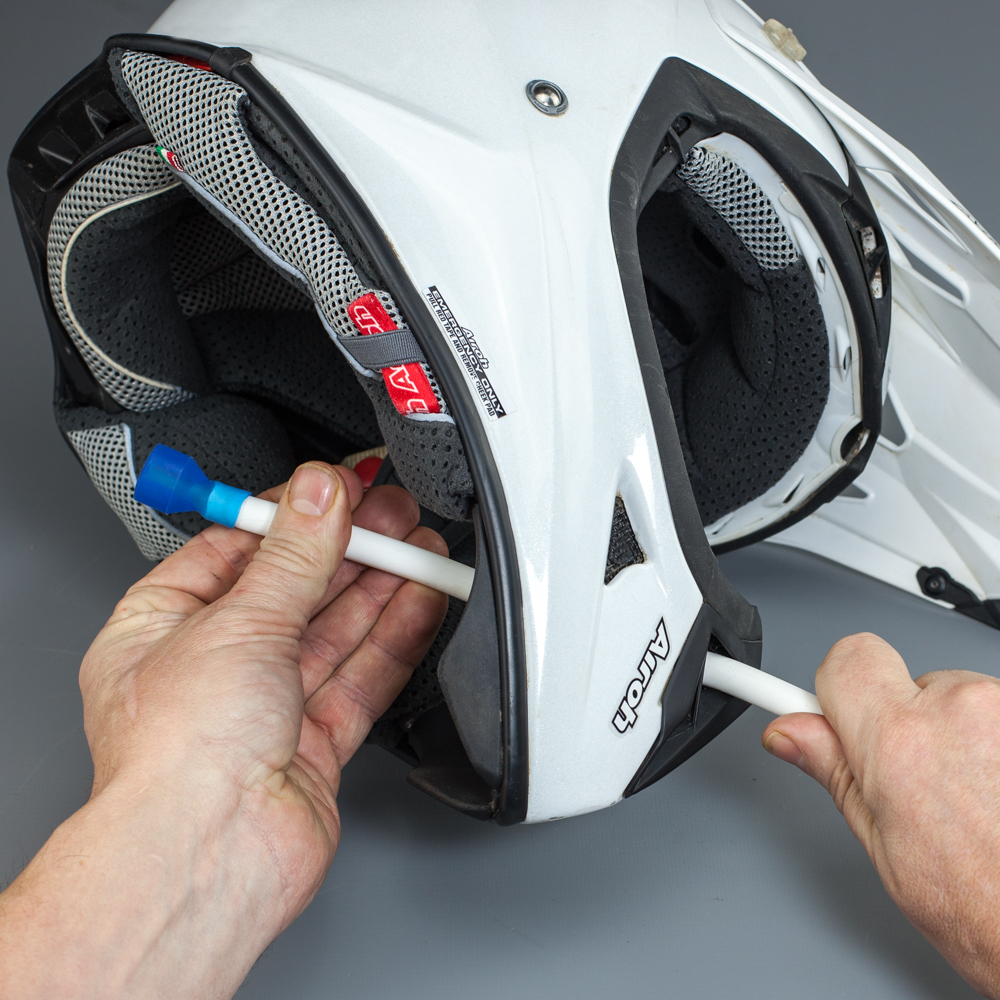
Make a hole in the helmet front air vent. Push the white tube through from the inside

STEP 2

STEP 2

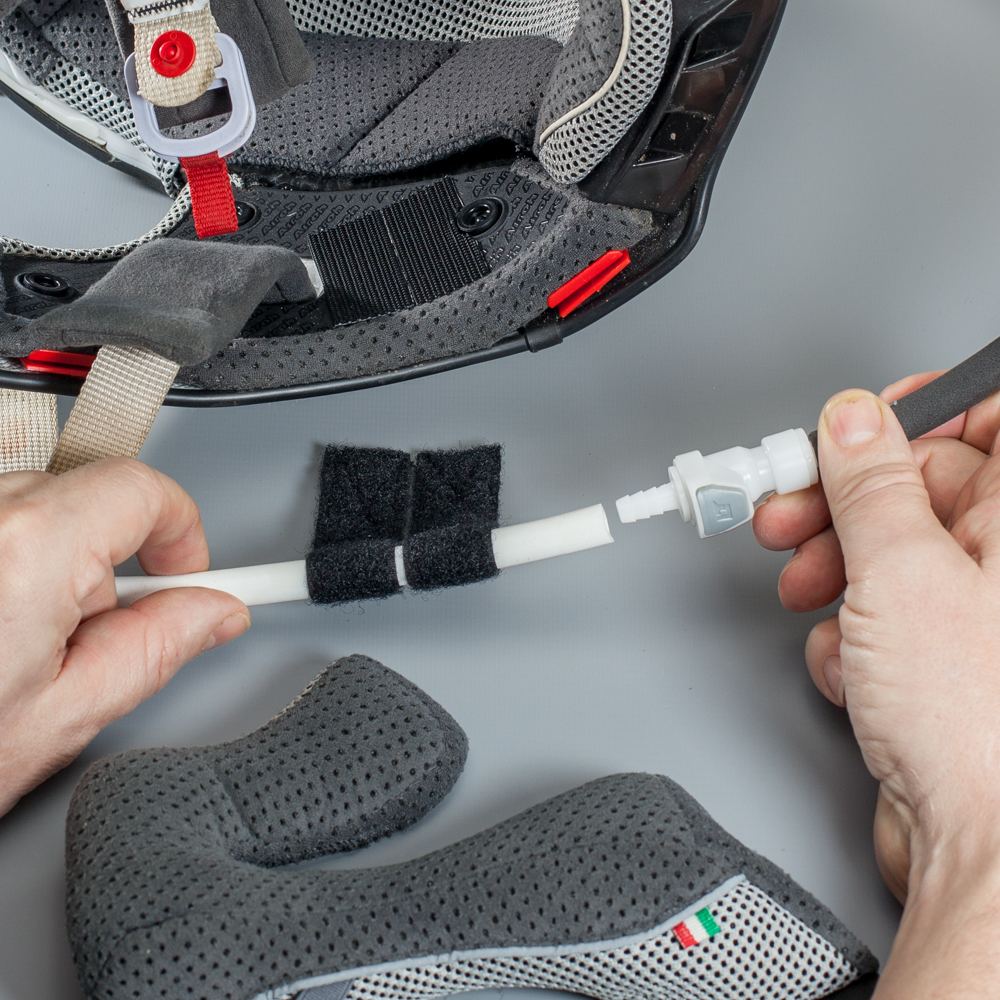
Slide the Velcro looped tabs onto the white tube. Push the end onto the dry-break connector

STEP 3

STEP 3

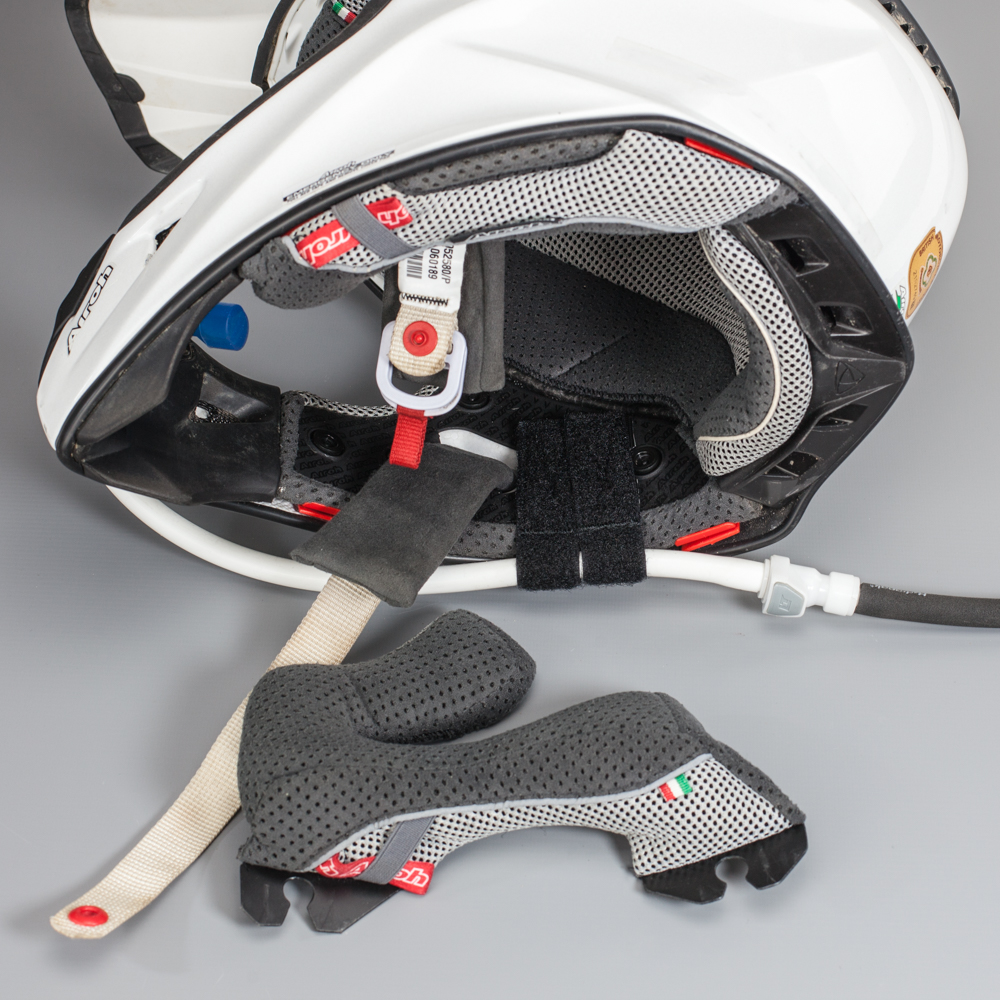
Remove the helmet inner cheek pad. Stick the Velcro® patch to a flat area on the inside.

STEP 4

STEP 4

Replace the inner cheek pad and adjust the bite valve position to your liking
Note: depending on the helmet size, the white tube may need cutting down. The ideal position for the connector is as near to the helmet as possible.

1 2 3 4
Previous Next
STEP 1
STEP 2
STEP 3
STEP 4
+44 (0)1244 280487 info@kriega.com
10 YEAR GUARANTEE DELIVERY & RETURNSCLEANING & CAREPRIVACY POLICYCONTACT US